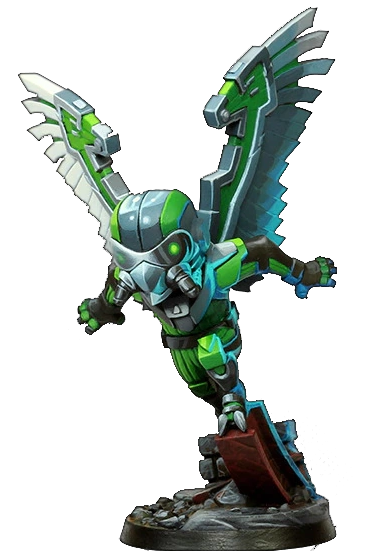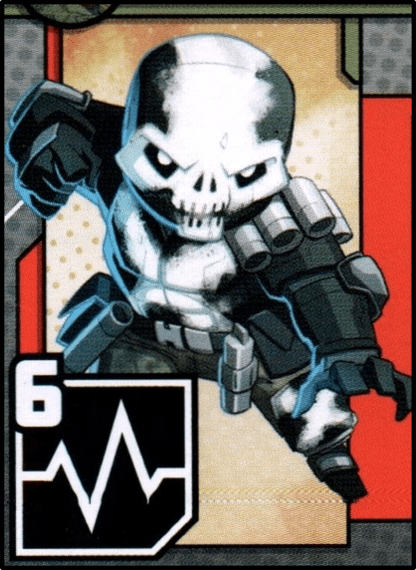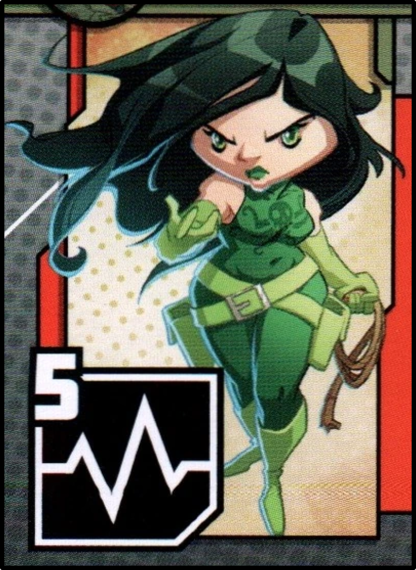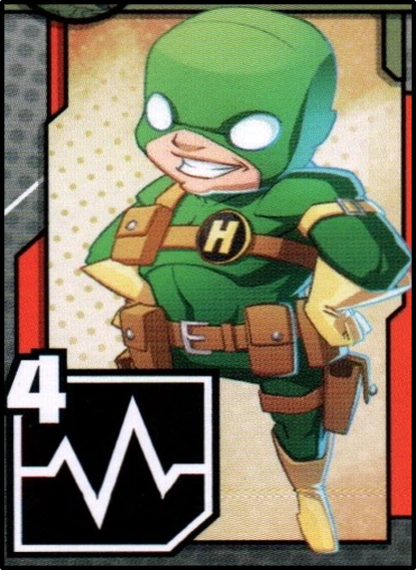
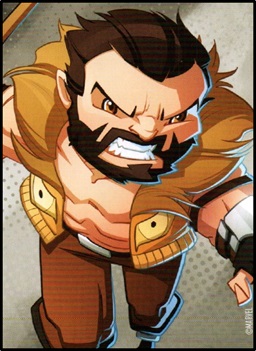
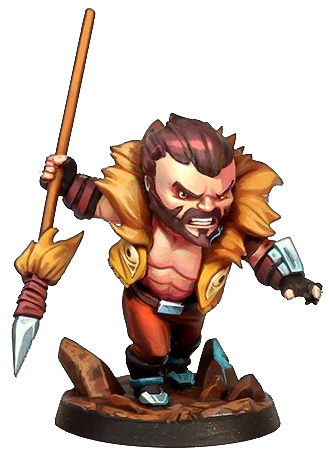
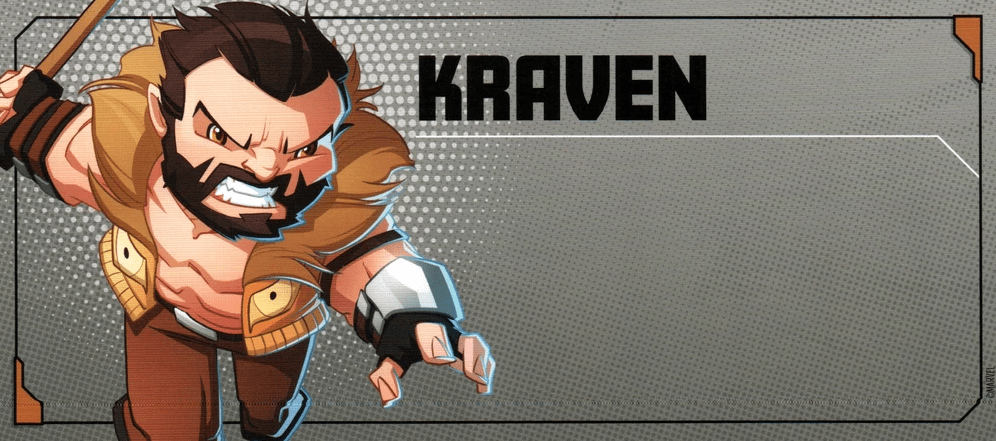
Real Name: Sergei Nikolaevich Kravinoff
First Comic Book Appearance: The Amazing Spider-Man (August 1964)
Affiliations in Comic Books: Legion Accursed, Sinister Six
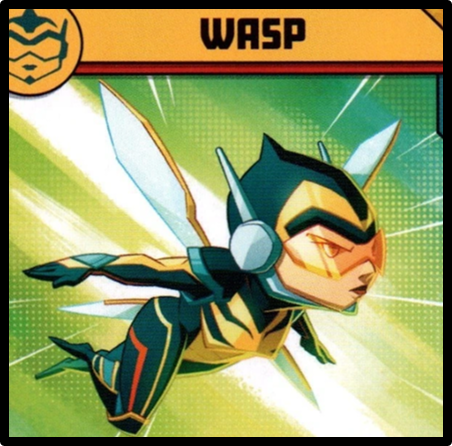
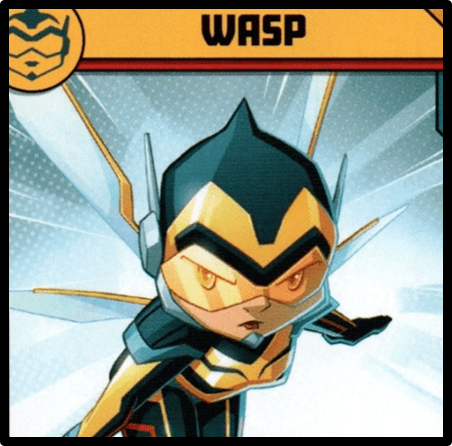
Marvel United Appearance: Marvel United: Return of the Sinister Six (July 2020)
Marvel United Team Decks: Sinister Six
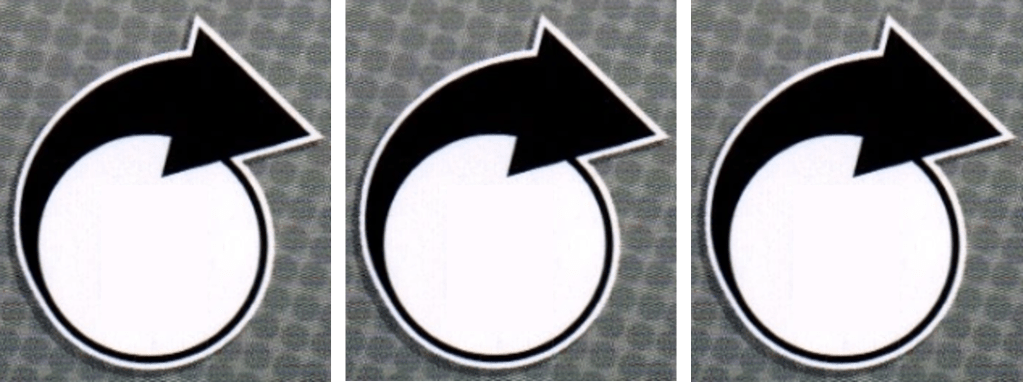
Movement

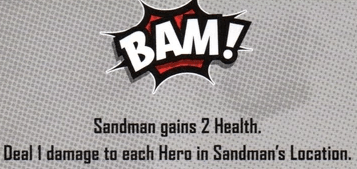
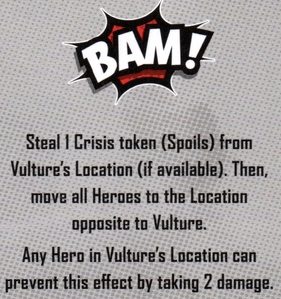
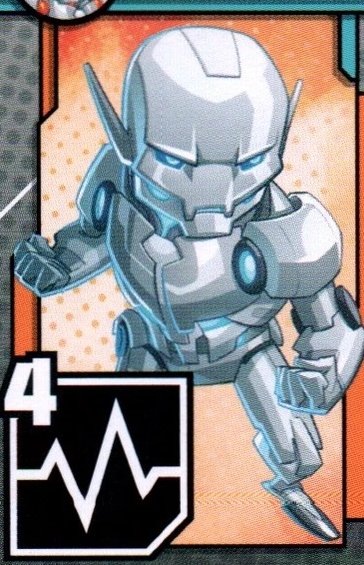
BAM!

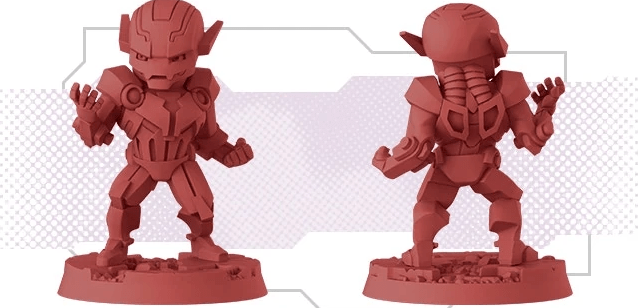
Civilians

Thugs

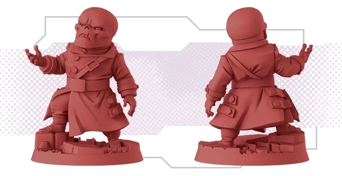
How Kraven Plays: Kraven actively hunts the Heroes. A third of his Master Deck cards have the “Obstinate Hunt” effect which will lead Kraven to a Location with Heroes. He deals damage to every Hero at his Location whenever he uses his BAM! effect. Even though you may think his Villainous Plot would be difficult to achieve, Kraven’s damage output could easily KO every Hero at the same time. Still, it’s much more likely that a Hero runs out of cards because they’ve been KO’d too often. And Kraven’s Special Rules allow him to play multiple cards from his deck, which will speed up the game clock. Kraven becomes a race against the clock.

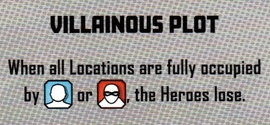
Villainous Plot: The Heroes lose if they are all KO’d at the same time.

Special Rules: When a Hero is KO’d, Kraven doesn’t activate his BAM!. Instead, he plays another Master Plan card.

BAM!: Deal 1 damage to each Hero in Kraven’s Location. Plus, any 1 Hero with Crisis tokens takes 1 damage per Crisis Token they have.
Kraven’s base damage is strong enough. 1 damage to each Hero in Kraven’s Location can result in multiple heroes receiving damage. But his second effect ups the ante. Heroes will receive one damage for each Crisis Token they have. Fortunately, Kraven only has one way of adding Crisis Tokens: his “Obstinate Hunt” ability within his Master Plan deck.

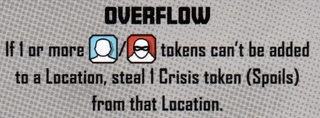
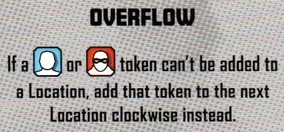
Overflow: If a civilian or thug token can’t be added to a Location, 1 Hero must take 1 damage (Heroes choose).
Kraven’s Overflow ability adds to his total damage. His BAM! effect coupled with his “Obstinate Hunt” and Overflow effect make him deadly.
It doesn’t matter how many tokens can’t be placed due to Overflow, Kraven will only damage 1 Hero one time for each Location that Overflows.
Threats
Kraven has 3 copies of 2 different Threat Cards.

Decoys (Threat)
Clear: 3 Heroics
Constant Effect: Every time Kraven takes damage in this Location, he ignores the first damage received.
“Decoys” only come into play in the late game. As a result, “Decoys” have a slightly lower clear priority when compared with Kraven’s other Threat card “Traps.” But “Traps” can be situational. If players tempt a Location filling up with Thugs/Civilians, they can render “Traps” ineffective. They also risk Overflow effects.
If you plan to finish the Clear Threats mission, I advise splitting the difference between “Decoys” and “Traps.” One copy of “Decoys” on the board means that Kraven has a 16.7% chance of ignoring the first damage. Note: This won’t matter much at all if you’re playing Heroes with a lot of Attack.

Traps (Threat)
Clear: 3 Heroics
Constant Effect: If there are no Civilian tokens or Thug tokens in this Location, when a Hero takes a damage here, they take 1 extra damage.
“Traps” is the obvious Threat to clear in the early game. You never want to take extra damage. But this Threat can be situational; heroes must clear the Location of all tokens (Civilians and Thugs) before “Traps” activate. You could risk an Overflow by keeping Thugs and Civilians on a Location.
Note: The most tokens Kraven adds in a single turn is 2 to a single Location. You only need to keep two empty spots on each Location.
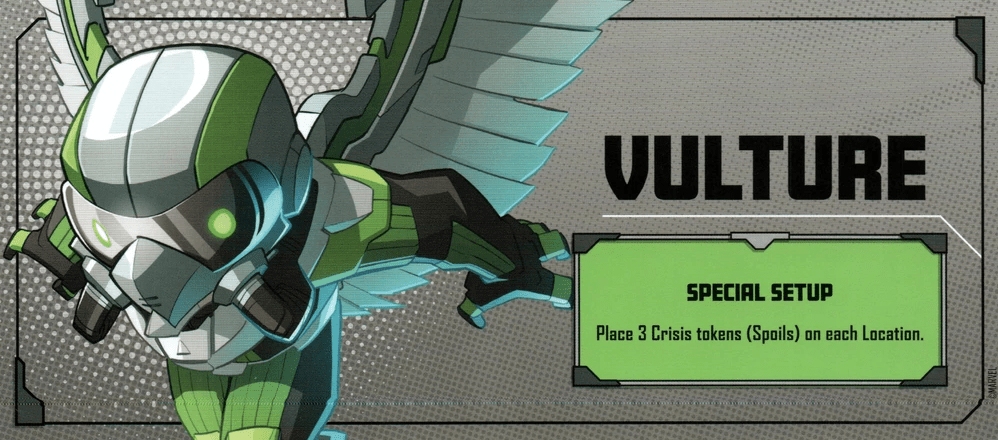
Master Plan Deck
Movement:
Kraven has an average of 1.5 Movement per turn, which is the same as the core set villains. But this number is deceptive. A third of his cards have Kraven move to the next clockwise Location with a Hero and then he uses his BAM! effect. Effectively, Kraven does his namesake and hunts the Heroes.
Civilians:
Kraven places Civilians at a similar rate to Doctor Octopus and Electro, so the Rescue Civilians mission shouldn’t be an issue. Two of his cards will add a whopping 6 Civilians and another will add 3 Civilians and 3 Thugs, so be careful that you don’t get overflows. If these four cards have already been played, you won’t need to worry as much about Overflow.
Thugs:
Kraven sports a little less with Thugs. When he does add Thugs, he always adds 1 Thug in three locations. This includes the two cards where he also adds 1 Civilian in three locations. You’re less likely to complete the Defeat Thugs mission as a result.
BAM!:
With the help of his one special effect “Obstinate Hunt,” Kraven has a BAM! effect on all but three of his cards. Coincidentally, the three cards with no BAM! effects will add 6 Civilian/Thug tokens in total. Kraven is usually on the hunt.
Special Effects on Cards
Obstinate Hunt: 1 Hero in Kraven’s Location takes 1 Crisis Token. Then BAM!.
Kraven only has one card with an effect text. He only needs one. Each copy of “Obstinate Hunt” will have a Special Movement that will lead Kraven to a Location with Heroes. That means that each “Obstinate Hunt” will result in a Hero gaining 1 Crisis Token and receiving at least 1 Damage. More if the Hero has any number of Crisis Tokens.
“Obstinate Hunt” comprises a third of Kraven’s deck. He will chase the Heroes often. The only way to counter this will be with abilities like Miles Morales’s where he delays the villain’s turn by one card or Black Widow’s ability that allows players to move the top card of the Master Plan deck to the bottom of the deck. Neither of these options eliminates this threat; they only postpone “Obstinate Hunt.” But Kraven’s battle is a race against the clock and an extra turn can make all the difference.
Special Movement: “Obstinate Hunt” also has the special movement text that reads, Move clockwise to the next Location with any Heroes. This will guarantee that Kraven will damage at least one Hero this turn.
General Strategy
“Obstinate Hunt” is Kraven’s ace in the hole. To minimize this card’s effectiveness, make sure to split up the Heroes. Kraven is a villain you don’t want the Heroes to group up on Locations.
You’ll want to keep Locations free of Thugs and Civilians or at least leave two open spots on each Location to accept the Thugs/Civilians Kraven will add. Overflow can get ugly fast. How to defeat Kraven depends on which Heroes you choose. Kraven favors adding Civilians over adding Thugs, so you may want to favor the missions Clear Threats and Rescue Civilians.
If you choose to finish the Clear Threats mission, “Traps” have more priority early game, but “Decoys” will help later game. I advise splitting the difference between these two Threat types: clear 2 “Traps” and then clear 2 “Decoys.” This gives Kraven less coverage after he becomes vulnerable to damage, and it minimizes the damage the Heroes can receive in the early game.
Heroes have a few options for dealing with “Obstinate Hunt.” You could use an ability like Black Widow’s to manipulate the villain deck. You could also delay the villain’s turn by one card with an ability like Miles Morales’s. Or you can play damage control after the fact with abilities that discard Crisis Tokens. Locations like S.H.I.E.L.D. Headquarters and The Great Mound (from the Rise of the Black Panther expansion) have “End of Turn” abilities that can help. Several Heroes from the X-Men Marvel United releases have Crisis Token discard abilities, too.
Fortunately, Kraven has average Health. So, after he becomes vulnerable to damage, he won’t be too difficult to defeat. The problem comes from Kraven’s initial attacks. Kraven top-decking his “Obstinate Hunt” places the Heroes in a hole. But you can still turn around the battle. If this happens turn one, make sure the Heroes seldom occupy the same Location.
Remember to time completing the first and second missions as close together as possible to avoid the villain speeding up too soon.